Head –
(You are making a ball.)In purple
1) Ch 2, in the second chain from your hook, sc 6 (6)
2) Inc all around (12)
3) Sc 1, inc (rp until end) (18)
4) Sc 2, inc (rp until end) (24)
5) Sc 3, inc (rp until end) (30)
6) Sc 4, inc (rp until end)
7) Sc 36 (36)
8) Sc 36 (36)
9) Sc 36 (36)
10) Sc 36 (36)
11) Sc 36 (36)
12) Sc 36 (36)
13) Sc 36 (36)
(You can start to fill with stuffing around here)
14) Sc 4, dec (rp until end) (30)
15) Sc 3, dec (rp until end) (24)
16) Sc 2, dec (rp until end) (18)
17) Sc 1 dec (rp until end) (12)
18) Dec all around (6)
19) Dec until closed or sew closed.
To sew eyes onto your head, grab your buttons and sew them towards the top of the head. See below.
Body –
(You are making a cone with flared edges.)In black
1) Ch 2, in the second chain from your hook, sc 6. (6)
2) Inc, sc 2, (rp until end) (8)
3) Sc 3, inc (rp until end) (10)
4) Sc 2, inc, sc 4, inc, sc 2 (12)
5) Sc 5, ince (rp until end) (14)
6) Sc 3, inc, sc 6, inc, sc 3 (16)
7) Sc 7, inc (rp until end) (18)
8) Sc 4, inc, sc 8, inc, sc 4 (20)
9) Sc 9, inc (rp until end) (22)
10) Sc 5, inc, sc 10, inc, sc 5 (24)
11) Sc 11, inc (rp until end) (26)
12) Sc 6, inc, sc 12, inc, sc 6 (28)
13) Sc 13, inc (rp until end) (30)
14) Sc 7, inc, sc 14, inc, sc 7 (32)
15) Sc 15, inc (rp until end) (34)
16) Sc 8, inc, sc 16, inc, sc 8 (36)
17) Sc all around
18) Inc all around
In grey.
19) Inc, sc 1 (rp until end)
Body Bottom –
In black or grey.1) Ch 2, in second chain from hook, sc 6 (6)
2) Inc (12)
3) Sc 1, inc (rp until end) (18)
4) Sc 2, inc (rp until end) (24)¬¬¬
5) Sc 3, (rp until end) (30)
6) Sc 4, inc (rp until end) (36)
Stuff the cone and sew the bottom onto the bottom of the cone, this is so our Mindflayer can stand up on its own.
Tentacle Base + Tentacles –
Base –
In purple1) Ch 8 (8)
2) In second chain from hook, hdc all around, ch 1 (8)
3) Hdc all around, ch 1, fasten off.
Sew onto body in the middle and directly below the eyes.
Tentacles (make 3) –
In purple1) Ch 13
2) In second chain from hook, sc all around, ch 1
3) Sc all around, ch 1
4) Sc all around, ch 1
5) Sc all around, sc 1
Sew your tentacle together longways, no need for stuffing.
Arms (make two) –
(You are making three long sticks)In black
1) Ch 2, in second chain from hook, sc 6 (6)
2) Inc (rp until end) (12)
3) Sc all (12)
4) Sc all (12)
In grey
5) Sc all (12)
In purple
6) Sc all (12)
You can stuff lightly here.
7) Dec all around (6)
8) Dec to close or sew closed.
Cloak Top –
(You are making a trapezoid)In black
1) Ch 11 (11)
2) In second chain from hook, inc, sc 8, inc, ch 1 (13)
3) Inc, sc 10, inc, ch 1 (15)
4) Inc, sc 12, inc, ch 1 (17)
5) Inc, sc 14, inc, ch 1 (19)
6) Inc, sc 16, inc, ch 1 (21)
7) Inc, sc 18, inc, ch 1 (23)
Border in grey all around.
Eyebrows (make two) –
1) Ch 62) In second chain from hook, sc all, in final stitch, sc 2. Fasten off.
This is not exact; the size of your eyebrows will depend on the size of your buttons. Larger buttons will need larger eyebrows, while smaller ones will need smaller eyebrows. The best way to tell is to chain until you find the length you are happy with; the pattern will stay the same. adjust this accordingly.
Assembly –
Attach the head and the tip of the cone together, this is your body. It’s easier if you push the tip of the cone inwards slightly, this is not necessary though.Sew the cloak top around the back of the neck on the Mindflayer.
Sew the arms on each side of the Mindflayer body, they look best up closer to the neck.
Attack the eyebrows, this is tricky, but place this like eyelids on top of the button eyes. It should look like a deep double eyelid.
Attach the square base for the tentacles. On top of this square, place and pin your three tentacles in a line, sew them on either one at a time, or attempt all at once, it’s up to you!
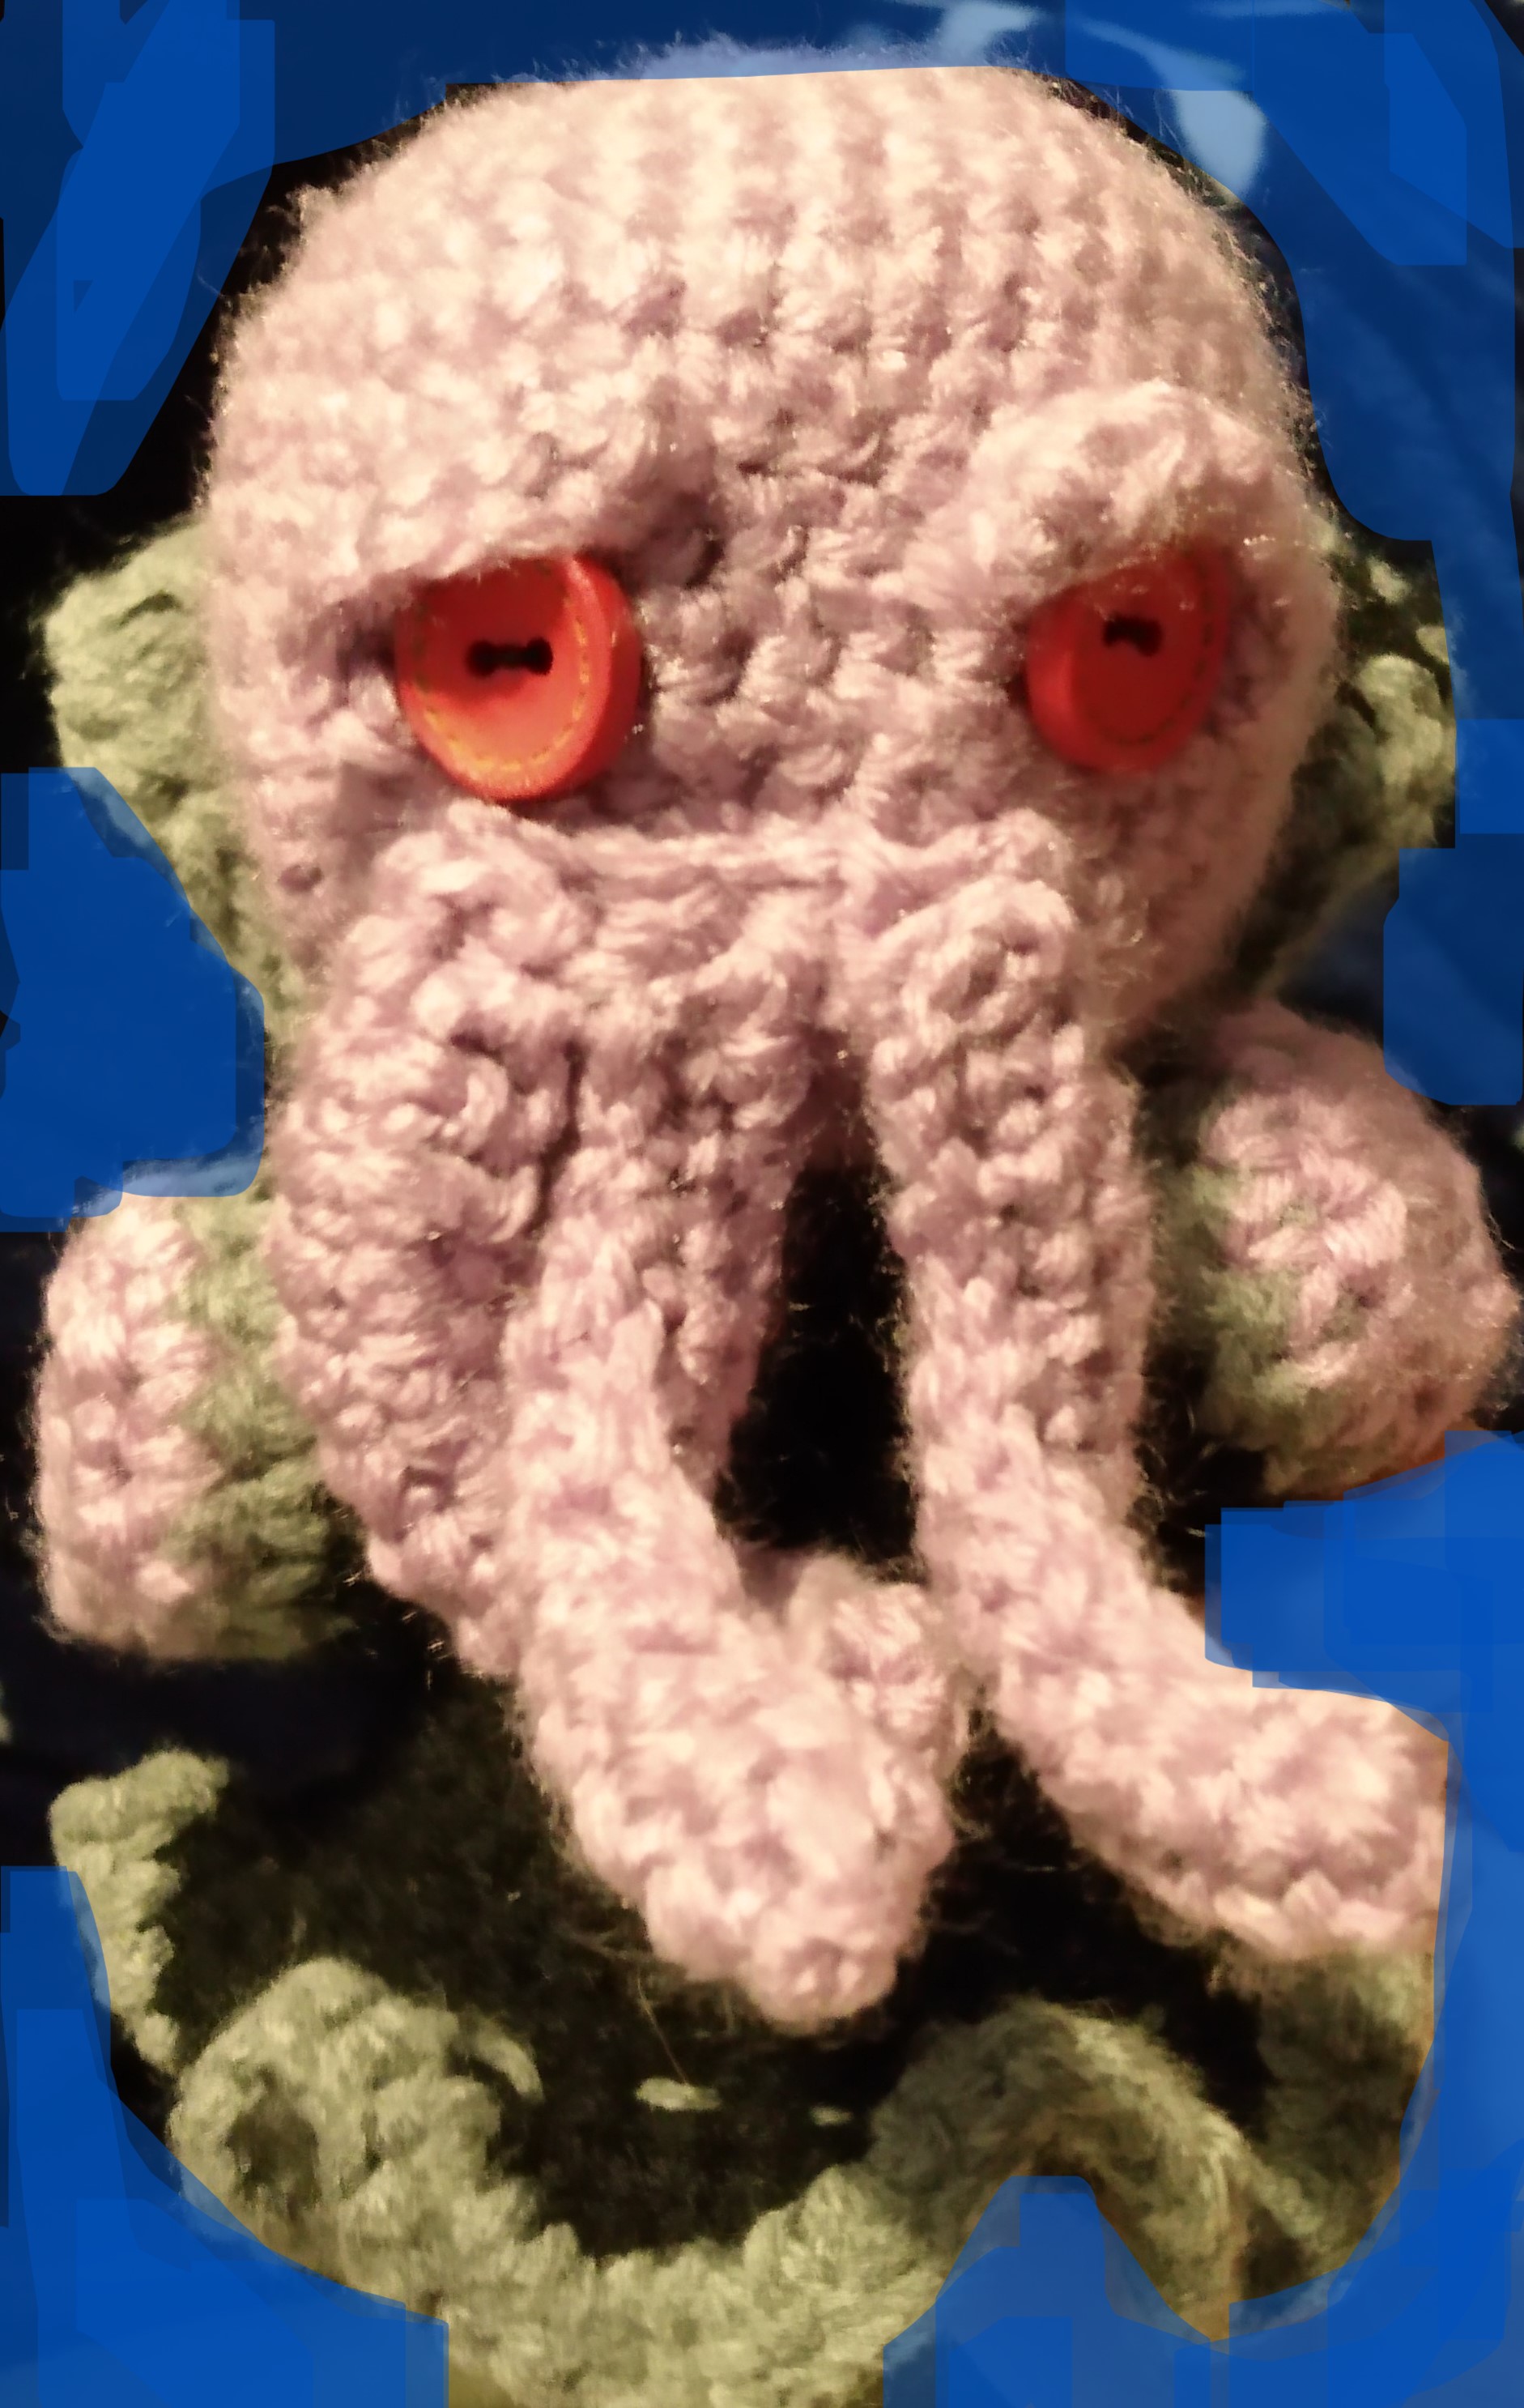
Here is your finised product!